


![BeFunky-collage]]] – 2026-06-19T170114.800](https://pausemag.co.uk/wp-content/uploads/2026/06/BeFunky-collage-2026-06-19T170114.800-600x403.jpg)


Are you looking to get your first batch of stickers made and are not quite sure what to look out for? Or are you on a tight deadline and need your artwork to fly through the process?
We have collected 6 tips to help you master the sticker printing process and receive the perfect stickers, saving you time, money and nerves.
Stickers are the perfect addition to your marketing. At a low cost, they can be used to brand your product with your logo or be added with every order. Given in the right moment, stickers will not be perceived as advertising, but are instead seen as a gift. This evokes social psychology’s rule of reciprocity: the receiver will feel the need to return the favour which can take the form of a social media post, a purchase or even a recommendation.
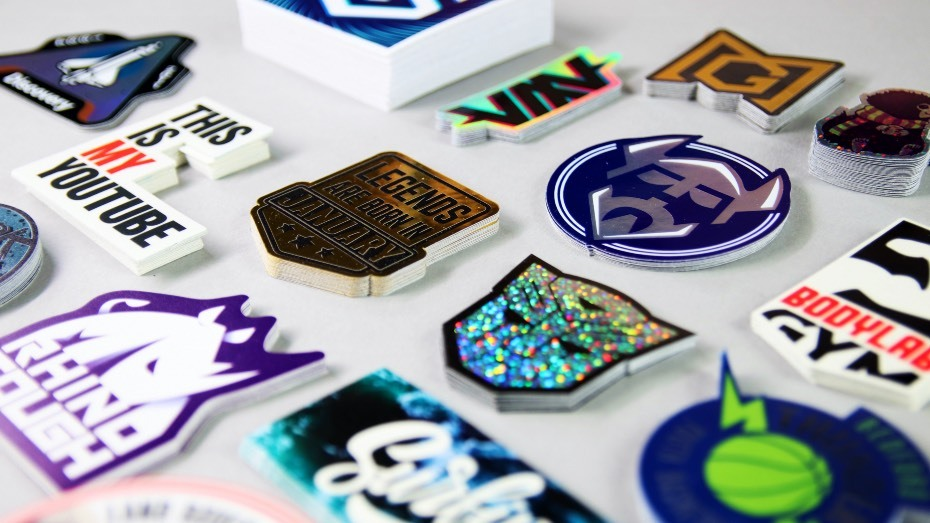
To tap into the superpower, you want your stickers to not only be an eye-catcher, but of high-quality as well. Our tips will help you achieve exactly that.
1. Submit High Resolution Artwork
Your artwork forms the foundation of your sticker. You want this to be of as high quality as possible. Even if you are not a Photoshop pro, there are several factors you can keep in mind.
If you are submitting text and designs, we recommend that you send in a vector. A vector consists of lines and shapes, which makes it very easy to scale and prints your artwork crisply. If you have a complex design with many illustrations, you should submit a bitmap.
Other than a vector, a bitmap consists of pixels, little dots that make up the image. The resolution is measured in dots per inches (dpis). The higher the number of dots, the higher the resolution of your artwork. We recommend at least 300 dpi for a great result.
2. Keep the Shape Simple
You can get your stickers in all imaginable shapes, which is amazing. However, the simpler you keep your shape, the cleaner your cutline will be and the better your sticker will stick.
Edges and fine details can compromise the durability of your sticker. Round and square shapes with rounded corners are ideal for ultimate longevity and always look smart.

3. Check the Size
This seems obvious, but make sure you view your design at 100% scale. This means, view it at the exact size your sticker will be.
This allows you to see whether your text will be legible. Printing companies have certain standards in place to ensure this. Your text should not be smaller than 1.2mm which roughly translates into 8pt depending on your font.
Your supplier will reach out to you should this not be met. However, it will speed up the process if you can ensure the size before submitting your artwork.
4. Convert Your Colours
This is a little tricky. The colours shown on your screen are created with RGB. This is a colour gamut consisting of shades of red, green and blue which can form 16,777,216 different colours.
Printers use a CMYK colour gamut. This means they use cyan, magenta, yellow and black (as a key) to generate 16,000 colours. We can add orange, violet and green to extend this, however there are limits to which colours can be printed.
We recommend that you convert the colours of your artwork to CMYK. This gives you the best indication of what your colours will look like when printed.
5. Choose the Perfect Material
Many printing suppliers offer a great range of materials. Each is ideal for a different type of application.
Broadly speaking, they can be divided into paper and vinyl stickers. Paper stickers are ideal for short-term indoor uses, and they are compostable. Vinyl stickers, on the other hand, are a lot more durable, resist sunlight, water and scratches and can be used outside.
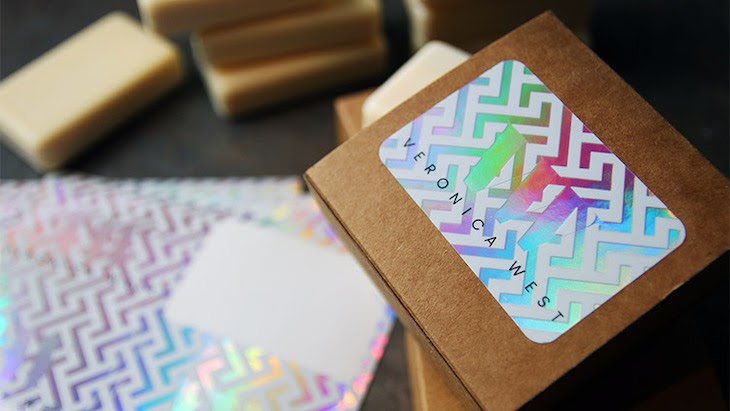
Effects like holographic or glitter make your design stand out and can give your product a premium look. Investing in a transparent sticker can be amazing for window applications or to any surface you would like to shine through your sticker.
6. Find a Great Supplier
How do you identify the perfect supplier? First of all, you need to make sure that they can deliver to your address in time for your deadline and offer the materials you love.
You also want to make sure that you will be sent a digital design proof before your stickers will be printed. This way, you can ensure that your sticker will come out perfectly. Should you not be happy, your sticker printer should take your requested changes into account until you are 100% happy.
And that’s it, everything you need to fly through the sticker printing process. We hope you found these tips helpful and feel prepared to make stickers work for you. Do you have any questions or additional tip you would like to share? Please do so in the comments below.