


![BeFunky-collage]]] – 2026-06-19T170114.800](https://pausemag.co.uk/wp-content/uploads/2026/06/BeFunky-collage-2026-06-19T170114.800-600x403.jpg)


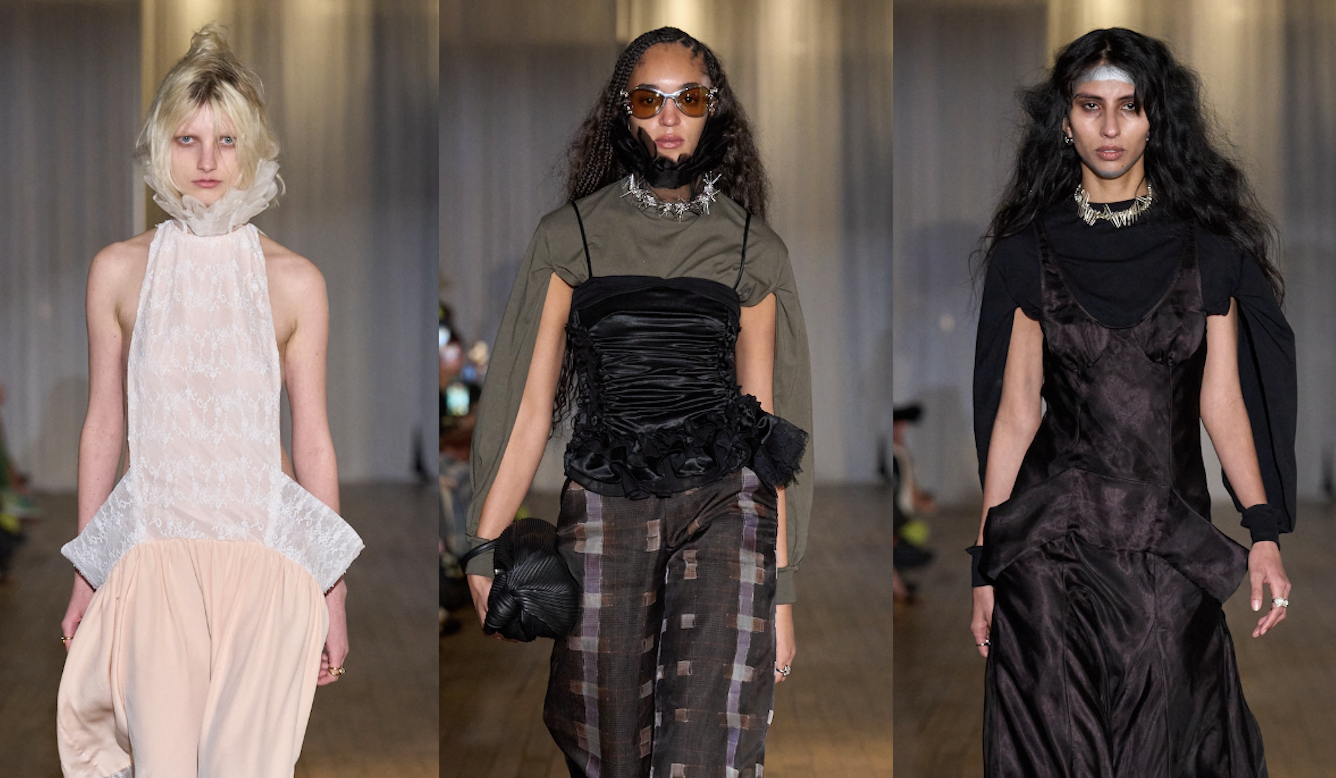
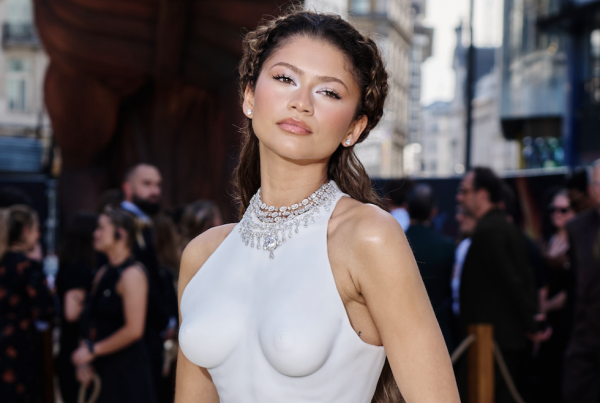
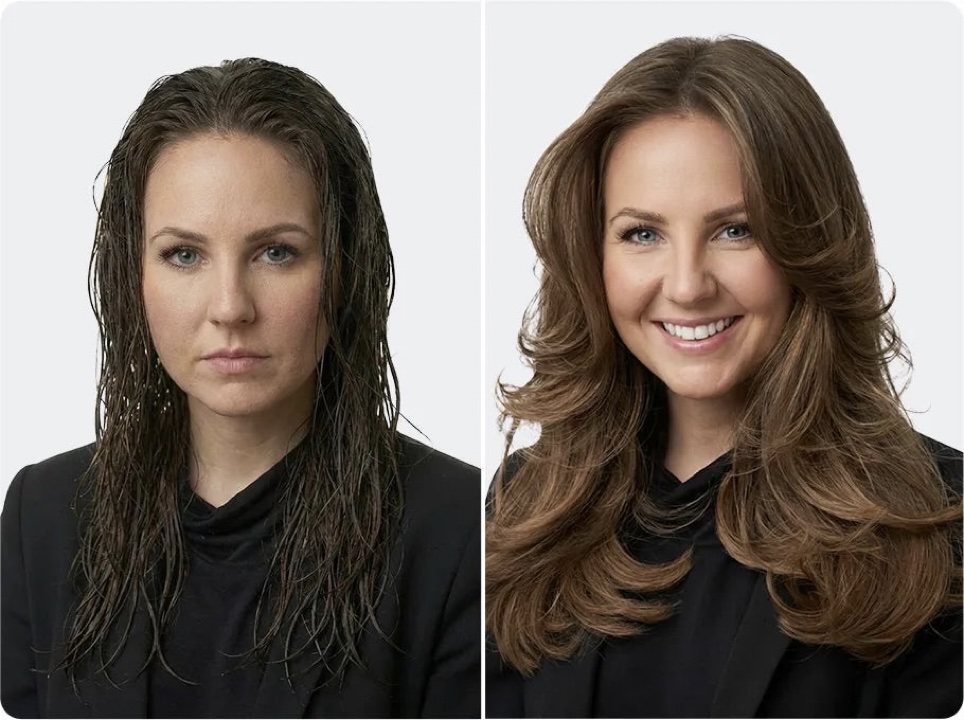
 The beauty world is currently fixated on a singular aesthetic: the high-glamour, gravity-defying layered blowout. If you’ve spent any time scrolling through fashion editorials lately, you’ve seen it—that effortless, wind-swept bounce that defined the 90s catwalks. This isn’t just a hairstyle; it’s a statement of polished confidence that brings a certain “supermodel energy” to any look.
While the stick-straight aesthetics of the early 2010s had their moment, the modern beauty enthusiast is craving something with more soul. The layered blowout is all about movement, soft curves, and a silhouette that frames the face perfectly. It’s the ultimate “rich girl” hair, evoking the timeless chic of Friends-era Rachel Green or the iconic, voluminous manes of Cindy Crawford. The best part? You no longer need a dedicated salon team to achieve it.
What Exactly Is a Layered Blowout
To the uninitiated, it might look like a standard blow-dry, but the layered blowout is a specific architecture of styling. Unlike a flat-ironed look that focuses on compression and shine, this technique prioritizes “the lift.”
It is defined by three core elements:
- Root Elevation: Massive volume starting directly at the scalp to prevent the hair from looking “weighed down.”
- The Mid-Length Swish: A smooth, polished texture through the body of the hair that retains its natural elasticity.
- The Signature Flick: This is the most crucial part—the ends are curved either inward or outward (the “flick”) to highlight the different lengths of your haircut.
Layered Blowout vs. Flat Iron Hair
While a flat iron creates a sharp, uniform curtain of hair, the blowout creates a 3D effect. Flat ironing often hides the nuances of a layered haircut; conversely, a layered blowout celebrates them, making your layers pop and dance as you move.
Why the 90s Revival is Dominating Our Feeds
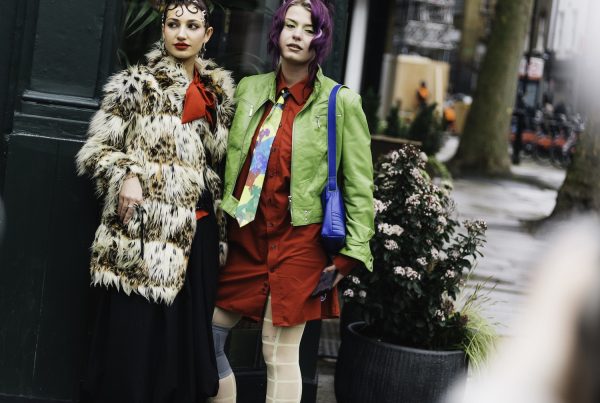
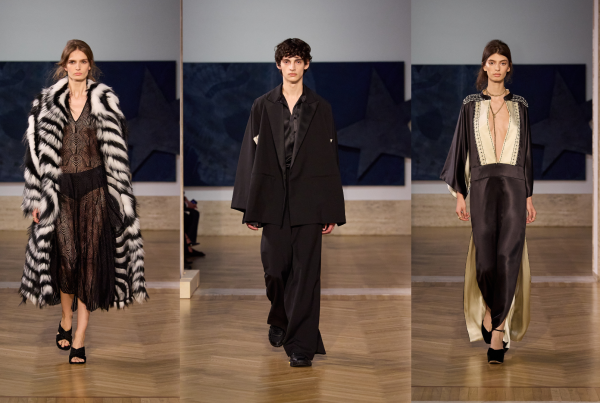
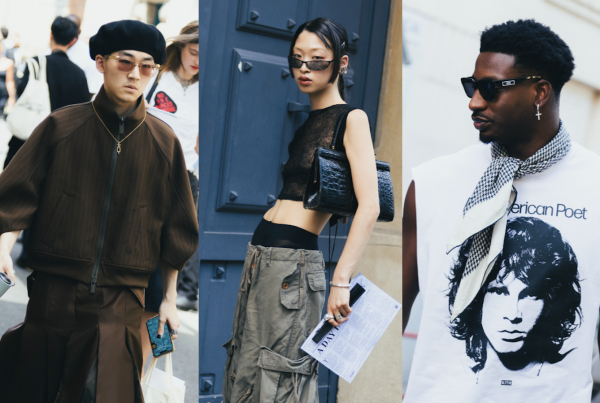
Fashion is cyclical, and right now, we are in the middle of a massive 90s revival. But unlike the grunge or neon trends, the “Supermodel Blowout” represents the softer side of that decade—the era of “Soft Glamour.”
This resurgence is driven by a collective desire for hair that looks healthy and luxurious. In an age of high-definition cameras, the matte, stiff styles of the past are being replaced by hair that looks touchable and vibrant. The layered blowout offers a versatility that works for a morning gallery opening or a late-night gala, providing a level of “done” that feels intentional but never forced.
How to Do a Layered Blowout at Home: A Step-by-Step Tutorial
Achieving this look at home was once considered the “final boss” of hair styling. However, with the right technique, you can master the layered blowout at home without the arm fatigue.
Step 1: Prep and Prime
Start with damp hair—roughly 70% to 80% dry. Applying styling products to soaking wet hair dilutes their effectiveness. Use a lightweight heat protectant and perhaps a volumizing mousse at the roots. This creates the “grip” necessary for the hair to hold its shape.
Step 2: Focus on the Root Lift
Section your hair into manageable tiers. Starting at the bottom, place your styling tool underneath a section of hair, right at the root. Pull the hair upward and outward. This “over-direction” technique ensures that even after the hair cools, it maintains its height.
Step 3: Smooth the Mid-Lengths
As you glide down the hair shaft, keep the tension consistent. You want to smooth the cuticle to catch the light, but avoid pulling so hard that you lose the volume you just created at the root.
Step 4: The Outward Flick
This is where the magic happens. When you reach the last two inches of your hair, rotate your tool away from your face. Hold it for a few seconds to let the heat set the shape. This creates that “winged” effect that makes layered hair look so dynamic.
Step 5: Face-Framing Precision
The sections around your face are the most important. Blow-dry these pieces away from your face, pulling them back and up. This creates a “curtain” effect that opens up your features and highlights your cheekbones.
Step 6: Set the Style
Once finished, don’t touch the hair immediately. Let the strands cool down completely to lock in the “flick.” A quick blast of cool air or a light mist of flexible-hold hairspray will ensure your voluminous layered blowout lasts through the day.
The Secret Ingredient: Choosing the Right Tool
The biggest hurdle to a DIY layered blowout has always been the equipment. Maneuvering a heavy dryer in one hand and a round brush in the other is a recipe for uneven results and tired shoulders. This is why the industry has shifted toward integrated 3-in-1 styling solutions.
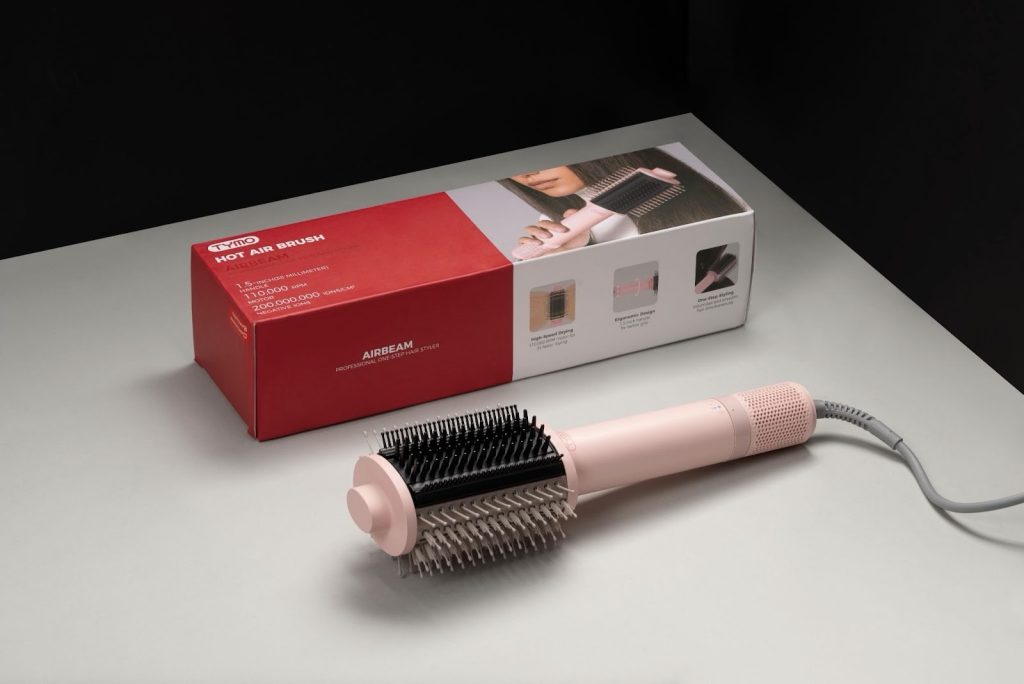
Modern tools like the TYMO AIRBEAM have simplified this process by merging airflow and brush design. When looking for a blowout brush for layered hair, the internal technology matters as much as the bristles.
- Airflow vs. Heat: High-speed motors are essential. They use air pressure to set the hair’s shape rather than relying solely on extreme heat, which protects the integrity of your layers.
- The Power of Ions: To get that supermodel shine, you need a tool that emits a high concentration of negative ions. The AIRBEAM, for instance, utilizes 500M Negative Ions to seal the hair cuticle, eliminating the static and frizz that usually plague home blowouts.
- Design Matters: A slim and lightweight tool allows for the high-angle movements required for root lift. When a tool is ergonomic, you can reach the back of your head with the same precision as the front, ensuring your layered blowout is consistent all the way around.
By using a tool designed specifically for all hair types—from fine and straight to thick and coily—you remove the guesswork from the styling process. It turns a 45-minute chore into a 15-minute ritual.
Common Mistakes to Avoid
Even with the best intentions, a few simple errors can deflate your layered blowout before you even leave the house.
- Over-Drying Before Styling: If you wait until your hair is 90% dry to start styling, the hydrogen bonds in your hair have already set. You need that slight dampness to “mold” the hair into the flick.
- Using Too Much Heat: Cranking your tool to the highest heat setting doesn’t make the style stay longer; it just increases the risk of split ends. Rely on airflow and tension instead.
- Neglecting the Layers: If you have a layered cut but blow-dry everything straight down, you lose the “staircase” effect of the hair. Always rotate the ends of each layer independently to give the style depth.
Skipping the Cool-Down: Heat shapes the hair, but cooling sets it. If you drop a warm section of hair too quickly, gravity will pull the “flick” right out of it.
Conclusion
The layered blowout is more than just a passing trend; it is a timeless technique that celebrates the health, volume, and natural movement of your hair. While it may have originated on the runways of the 90s, its current evolution is much more accessible.
Mastering the layered blowout tutorial at home is truly a game-changer for your beauty routine. With the right technique and a simplified, high-performance tool like the TYMO AIRBEAM, you can bridge the gap between “home-made” and “salon-finished.” It’s about taking the complexity out of glamour and reclaiming that effortless, bouncy confidence every single morning.